Hey Run Gen Community!
Today, I’m guiding you through installing my adapted version of the Wan Video All-In-One Simple Workflow, a versatile tool for video generation in ComfyUI. Originally shared on Civitai, this workflow supports text-to-video (T2V), image-to-video (I2V), and video-to-video (V2V) tasks. I’ve enhanced it with the Joycaption plugin to eliminate manual prompts—my custom_prompt command auto-generates video-friendly prompts, building on proven results from my LTX workflow. Let’s set it up!
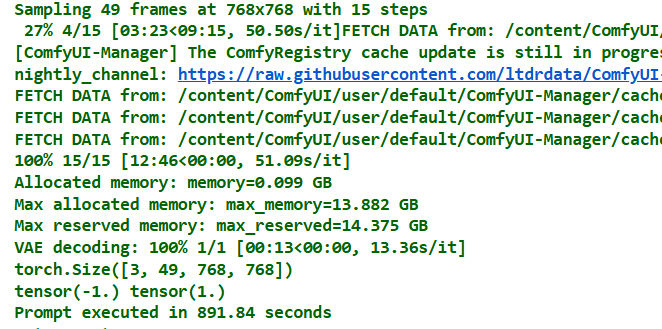
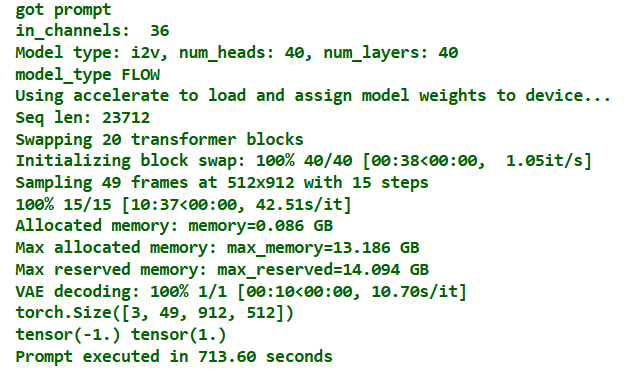
Thy newest sampler made by me, with the updated workflow

2025-03-10T00:00:00Z


## Here is the workflow
Now for the fun part—making videos! I’ve bundled my workflow into a JSON file for you to use:
Workflow Download
Check the updated model setup and new workflow below.
Prerequisites
Before diving in, ensure ComfyUI and all custom nodes are updated to their latest versions. The V2V functionality requires version 1a or higher of the workflow. Kijai’s ComfyUI-WanVideoWrapper node powers this setup but is still under development, so expect occasional hiccups.
Step 1: Download the Workflow
Download: Use the link provided above to download the workflow JSON file.
Step 2: Install Required Custom Nodes
Next, install the necessary custom nodes using ComfyUI-Manager to ensure the workflow runs smoothly.
- Open ComfyUI-Manager (find it in the ComfyUI interface under “Manage” or “Custom Nodes”).
- Go to “Install Missing Custom Nodes” and add these:
ComfyUI-Frame-InterpolationComfyUI-WanVideoWrapperComfyUI-VideoHelperSuiteComfyUI-Custom-ScriptsComfyUI-Impact-PackComfyUI-KJNodesrgthree-comfyComfyUI_SLK_joy_caption_two
- Click “Install” for each, then restart ComfyUI.
## Step 3: Install Models
The new workflow uses GGUF models. updated model installation guide below for the latest setup.
Upscale Model
- 4x_foolhardy_Remacri
- Install via ComfyUI-Manager > Model Manager.
- Path:
ComfyUI/models/upscale_models/
### Diffusion Models
I2V Model: Wan2_1-I2V-14B-720P_fp8_e4m3fn.safetensorsT2V Model: Wan2_1-T2V-14B_fp8_e4m3fn.safetensorsV2V Model: Wan2_1-T2V-1_3B_fp8_e4m3fn.safetensorsPath:ComfyUI/models/diffusion_models/
### VAE
VAE Model: Wan2_1_VAE_bf16.safetensorsPath:ComfyUI/models/vae/
### CLIP Models
CLIP 1: open-clip-xlm-roberta-large-vit-huge-14_fp16.safetensorsCLIP 2: umt5-xxl-enc-fp8_e4m3fn.safetensorsPath:ComfyUI/models/clip/
Step 4: Set Up Joycaption Model (easy download)
The ComfyUI_SLK_joy_caption_two node enhances this workflow by auto-generating image prompts based on my custom LTX setup. It requires additional model files. Below are download instructions for Colab and local users—choose one and fill in the code yourself.
For Colab Users
import os
import shutil
import subprocess
import argparse

def download_and_setup_joycaption(base_dir):
    """Download and set up Joycaption model at specified base directory."""
    if os.path.exists("ComfyUI_LayerStyle"):
        shutil.rmtree("ComfyUI_LayerStyle")

    subprocess.run([
        "git", "clone", "--depth", "1",
        "https://huggingface.co/chflame163/ComfyUI_LayerStyle",
        "ComfyUI_LayerStyle"
    ], check=True)

    src_path = "ComfyUI_LayerStyle/ComfyUI/models/Joy_caption"
    dest_path = os.path.join(base_dir, "Joy_caption")
    if os.path.exists(dest_path):
        shutil.rmtree(dest_path)
    shutil.copytree(src_path, dest_path)

    shutil.rmtree("ComfyUI_LayerStyle")

    src_folder = os.path.join(dest_path, "cgrkzexw-599808")
    dest_folder = os.path.join(base_dir, "Joy_caption_two")
    os.makedirs(dest_folder, exist_ok=True)

    for item in os.listdir(src_folder):
        shutil.move(os.path.join(src_folder, item), dest_folder)

    shutil.rmtree(dest_path)

if __name__ == "__main__":
    parser = argparse.ArgumentParser(description="Setup Joycaption model.")
    parser.add_argument("--path", default="ComfyUI/models/", help="Target directory for model setup")
    args = parser.parse_args()

    download_and_setup_joycaption(args.path)
    print("Joycaption model setup completed!")
For Local Users
import os
import shutil
import subprocess

# Base directory
# Please define the absolute path on your local machine, e.g., "C:/Users/You/ComfyUI/models/"
BASE_DIR = "ComfyUI/models/"

def download_and_setup_joycaption():
    """Download and set up Joycaption model locally."""
    # Step 1: Clone repo and copy Joy_caption folder
    if os.path.exists("ComfyUI_LayerStyle"):
        shutil.rmtree("ComfyUI_LayerStyle")  # Remove old clone if exists

    # Clone the repository (minimal clone)
    subprocess.run([
        "git", "clone", "--depth", "1",
        "https://huggingface.co/chflame163/ComfyUI_LayerStyle",
        "ComfyUI_LayerStyle"
    ], check=True)

    # Copy Joy_caption to target directory
    src_path = "ComfyUI_LayerStyle/ComfyUI/models/Joy_caption"
    dest_path = os.path.join(BASE_DIR, "Joy_caption")
    if os.path.exists(dest_path):
        shutil.rmtree(dest_path)  # Clean up if exists
    shutil.copytree(src_path, dest_path)

    # Clean up cloned repo
    shutil.rmtree("ComfyUI_LayerStyle")

    # Step 2: Move contents of cgrkzexw-599808 to Joy_caption_two
    src_folder = os.path.join(dest_path, "cgrkzexw-599808")
    dest_folder = os.path.join(BASE_DIR, "Joy_caption_two")
    os.makedirs(dest_folder, exist_ok=True)

    for item in os.listdir(src_folder):
        shutil.move(os.path.join(src_folder, item), dest_folder)

    # Step 3: Remove original Joy_caption folder
    shutil.rmtree(dest_path)

if __name__ == "__main__":
    download_and_setup_joycaption()
    print("Joycaption model setup completed!")
After running the code:
- Files will be placed in
ComfyUI/models/Joy_caption_two/. - Restart ComfyUI to activate the node.
Step 5: Optional Performance Boost with SageAttention
For better efficiency (especially on lower VRAM setups), I strongly recommend installing SageAttention. Follow this guide:
- How to Run HunyuanVideo on a Single 24GB VRAM Card.
This tweak can optimize resource use for video generation.
Update to Wan2.1 Workflow (March 9, 2025)
wanvideoGGUF.json (200.0 KB)
I’ve refined the Wan Video All-In-One Workflow—here’s what’s new:
-
New Resize Node: Added a custom image resize node. Set the longest side’s resolution based on your GPU memory (e.g., 512 or 720 pixels) to optimize performance while preserving the original aspect ratio.
- Reason: Ensures compatibility across different VRAM capacities without distorting images.
-
Improved Prompt System with Joy Model: Replaced the original auto-prompt extraction with the Joycaption model, enhancing flexibility (including NSFW capabilities, though we keep it clean here). The Wan2.1 prompt process works like this:
- Part 1: Joy model + custom_prompt auto-generates a micro-motion description
- Part 2: Append explicit actions (e.g., “person turns to face the camera”) in the append field.
- Final Step: Both parts merge into a single prompt for the model.
- Note: Simple prompts like “person turns to face the camera” can work, but detailed pre-descriptions yield more accurate results.
- Reason: Joy improves prompt quality; the two-part system balances automation and precision.
Step 3: Install Models (Updated)
The workflow requires specific models and supporting files. Download and place them in the correct ComfyUI directories as listed below.
Diffusion Models
- I2V Model: wan2.1-i2v-14b-480p-Q4_K_M.gguf
- T2V Model: wan2.1-t2v-14b-Q4_K_M.gguf
- V2V Model: Wan2_1-T2V-1_3B_fp8_e4m3fn.safetensors
- Path:
ComfyUI/models/diffusion_models/
- Path:
VAE
- VAE Model: wan_2.1_vae.safetensors
- Path:
ComfyUI/models/vae/
- Path:
CLIP Models
- CLIP 1: clip_vision_h.safetensors
- Path:
ComfyUI/models/clip/
- Path:
CLIP-VISION
- CLIP 2: clip_vision_h.safetensors
- Path:
ComfyUI/models/clip_vision/
- Path:
This updated workflow combines insights from Kijai’s original, plus other online solutions, into the fastest and most effective setup I’ve tested. I strongly recommend using it for optimal Wan2.1 results. Grab the new JSON from the link above and try it out!